
How to Clean your Paint Brushes after Oil Painting
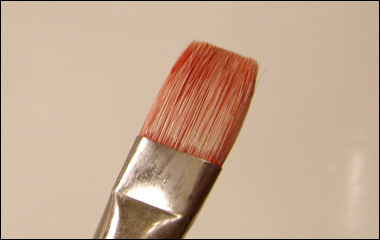
An artist’s most valuable tools are his or her brushes, and to keep a paintbrush lasting as long as possible it’s important to get all the paint out of the bristles after painting.
An artists own guide to thorough brush cleaning by Dan of Empty Easel:
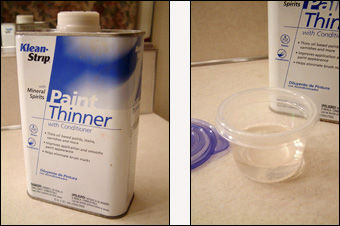
First get some paint thinner, turpentine, or mineral spirits—ideally you should already have some on hand to mix with linseed stand oil for painter’s medium. Pour a little bit of the thinner into a small container which you can seal up afterward; you’ll be able to use the same amount of thinner for a long time.
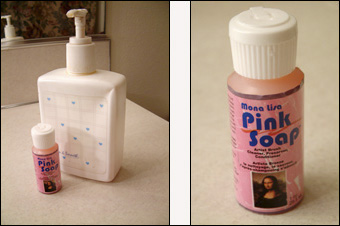
You’re also going to need some liquid soap—I use regular hand soap most of the time, but I’ve also used Mona Lisa Pink Soap in the past and they both work well. The Pink Soap has some bristle conditioner mixed in, so it may prolong the life of your brushes better than regular hand soap.
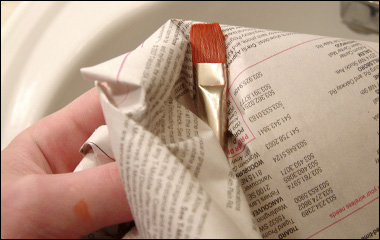
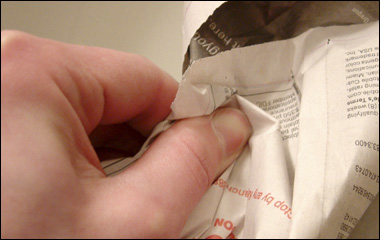
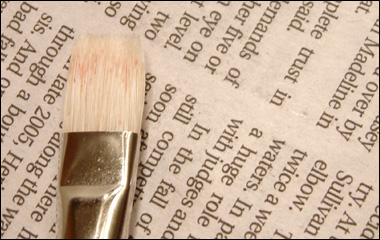
Of course, you won’t need the thinner or soap until you get all the excess paint out of your brushes. Here’s where a little finger strength comes in handy. Take your brush with one hand and a piece of newspaper with the other, wrapping the newspaper around the metal part of the brush.
Then, just squeeze as tightly as possible, starting right at the base of the bristles, while pulling the brush back through your fingers. Get as much paint as you can out of the brush.
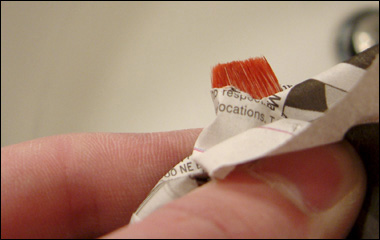
Go ahead and do it a few times, and especially try to remove all the paint that’s stuck close to the ferrule (the metal part of the brush.)
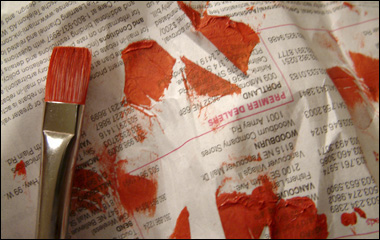
You should end up with splotches of paint all over your newspaper and a lot less of the paint left in your brush.
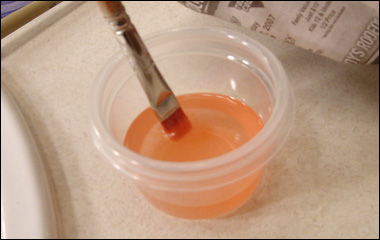
Next, take your brush over to the small container of paint thinner and dip it in, scrubbing across the bottom of the container to loosen more paint.
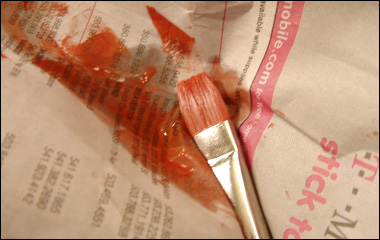
Repeat the squeezing technique with more newspaper, but be warned that it can get a little messier this time around since your brush will have picked up a lot of the liquid thinner. You should see a quite a bit more color flowing out of the bristles however.
Once you’ve squeezed out the thinner a few times your paintbrush will probably have a little more of its original color back, but there’ll still be a paint stain left from the oils.
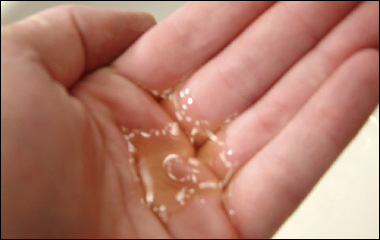
To finish cleaning the brush, pump some liquid soap into the palm of one hand and hold the paintbrush with your other.
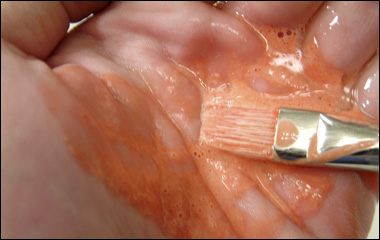
Scrub the brush back and forth across your palm, letting the soap penetrate the bristles to pull out more oil pigment. When the soap gets too contaminated by the paint, rinse both your hand and the brush with water, then get more soap and begin scrubbing again.

Repeat the process until the soap doesn’t change color in your palm, proving that there’s no more oil paint stuck in the brush.
(NOTE: If you’re concerned about possible absorption of Cadmium into your skin during this stage, you could use disposable gloves.)
Rinse out all the soap and use your newspaper one last time to get most of the water out of the bristles.
It’s important to clean your brushes immediately after you finish painting, even when you’re tempted to let them sit for a day or two. Letting them soak in paint thinner isn’t a good alternative either; it will just weaken the glue holding the bristles in place.
Although it may seem like a lot of effort, good care and cleaning of your brushes will help them last longer and stay functional throughout their lifespan—keeping you from the frustration of using worn out tools, and ultimately saving you money.
No comments:
Post a Comment